How to use Bootstrap with Jekyll
March 19th, 2020
Some years ago, I started messing with Jekyll for fun. I liked the idea that you can have your blog, with not a lot of coding, and especially that you can host it for free on GitHub. Something like Wordpress was overkill for what I wanted to do and Medium (which was not an annoying platform back in 2014) was slick and simple, but not customizable. A part of me wanted to create something.
When you first build a Jekyll site, it comes by default with minima. It may fit a lot of needs but I don’t really like this theme. No offense to the creators, but it’s not my taste. I started to use Bootstrap 3 in 2014 and I enjoyed how you can use the prebuilt components and layout, thus, why not use it with Jekyll.
We could also use themes already packaged as RubyGems, even some with the Bootstrap framework already included but we would have the same problems; we can’t easily change the features of the theme, we’ll see why later.
Anyway, this should be simple to do, I mean, it’s just some CSS, amarite?!
Installing Jekyll & creating a new site
If you follow the official Documentation on how to install Jekyll, once the Ruby packages are installed, you create your site with the command jekyll new my_blog. Inside the newly created directory, we’ll find the following files.
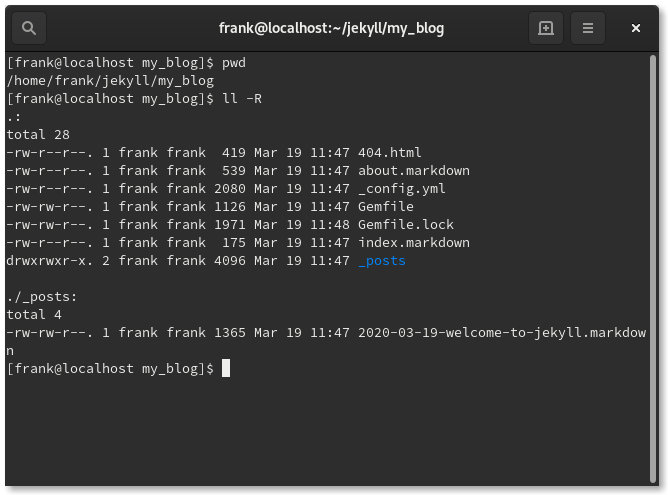
Wonder where the theme files are? Because besides ./_posts, there are no other directories. Themes are not there because they are managed by some stupid RubyGems. I say stupid because while it’s a great concept for more complex applications, a Jekyll website should remain the simplest form of a website there is and include, right off the bat, the CSS and JavaScript associated with the site. But hey, I’m not a Ruby developer, so my opinion is irrelevant!
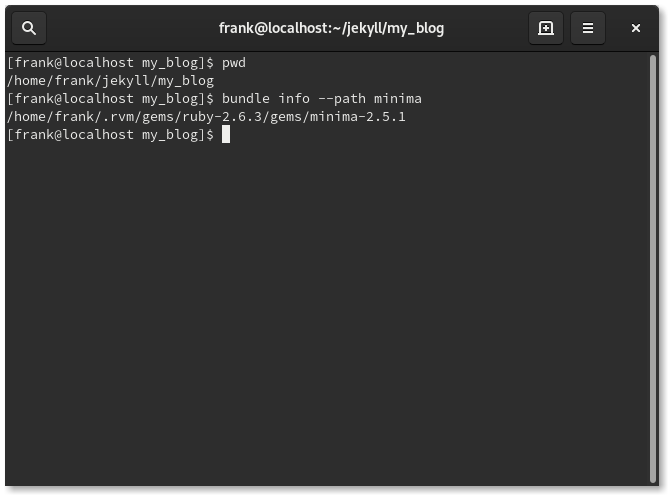
At least, we can go get these files elsewhere on our machine. Let’s find where the theme is by running the command bundle info --path minima inside our my_blog directory. The output should look something like this.
And the content of the minima directory, like this.
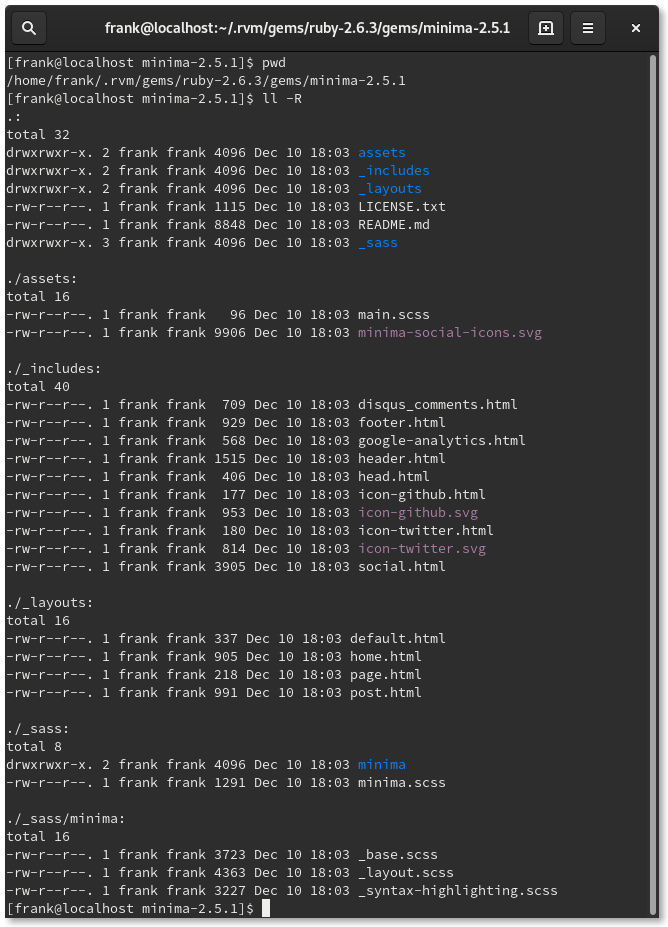
There is way more stuff that there used to be back in 2015. It seems like a lot for something that aims at being “simple”, as stated in the title tag.
Starting from scratch
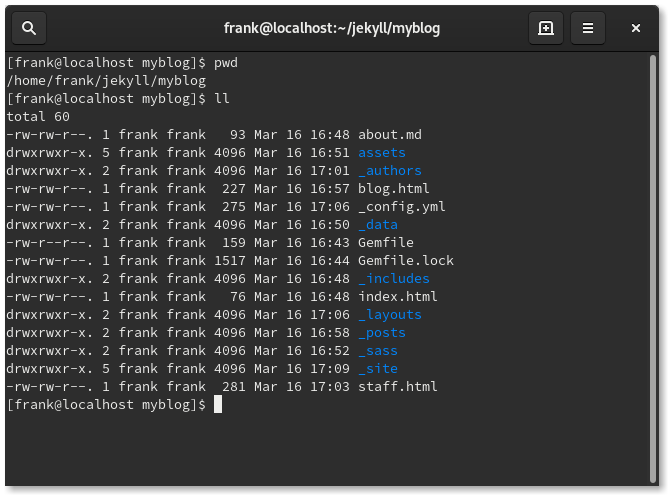
Anyway, I don’t care about minima and its features, so let’s start from scratch following Jekyll’s official step by step tutorial. It’s easy to follow and quick to finish. Once you’re done, you’ll end up with a project structure like the one below. It includes everything in a single directory, no RubyGems that are elsewhere on your machine or someone else machine (aka, the cloud).
Adding Bootstrap to the mix
As I understand per the tutorial, in not technical terms:
- When Jekyll build the site, it looks into the
./assets/directory for CSS (and images, and JavaScript). - Inside
./assets/css/we havestyles.scss. - The
styles.scssfile only contains front matter and a reference to what and where the actual CSS file is. In our case, we have@import "main";. - With this reference, Jekyll will look for a file called
main.scssin our./_sass/directory. - Finally, in the
main.scssfile, we have the actual CSS code!
Understanding that, we can modify our newly created site to use Bootstrap. Let’s download Bootstrap 4. Once we’ve unzip the file, we end up with all those chickens files.
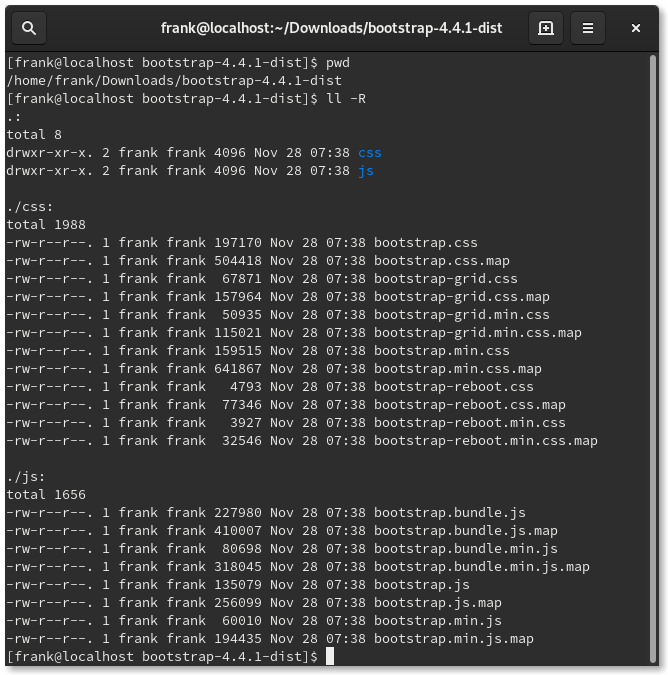
You only really need boostrap.css and we need to change the .css extension to .scss. If we follow the same procedure:
- Place the
bootstrap.scssfile (the one with the actual CSS code) inside the./_sass/directory. - Delete the old
main.scss, it’s no longer needed. - Modify the
./assets/css/styles.scssfile to@import "bootstrap";instead of@import "main";in order for Jekyll to know to look for our new CSS file by name. - Note that if we change the name of
styles.scss, we also need to change the reference to it in the header of the./_layouts/default.htmltemplate HTML file. The extension needs to remain.cssor else it will throw an error while building.
With this done, we can test our changes to make sure it works.
Testing our changes
If the server is running (jekyll serve), Jekyll will regenerate our site (the ./_site directory) as we make changes. We would need to restart it if we made changes to the _config.yml file but it’s not the case here.
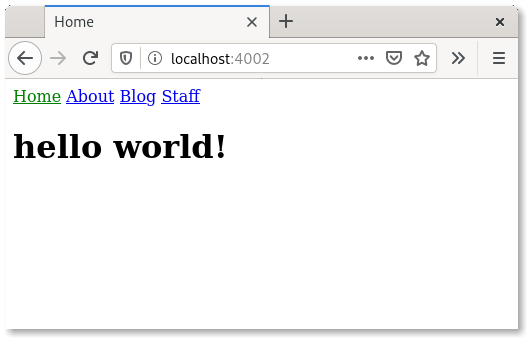
Before applying Bootstrap CSS.
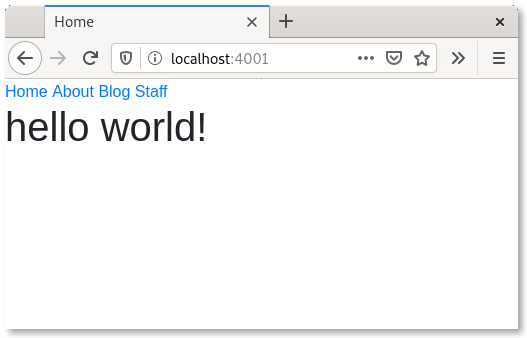
After applying Boostrap CSS.
We can also add some Boostrap components by inserting the HTML code directly into Markdown files, into a post for example. Below, we have alerts and buttons in a blog post page.
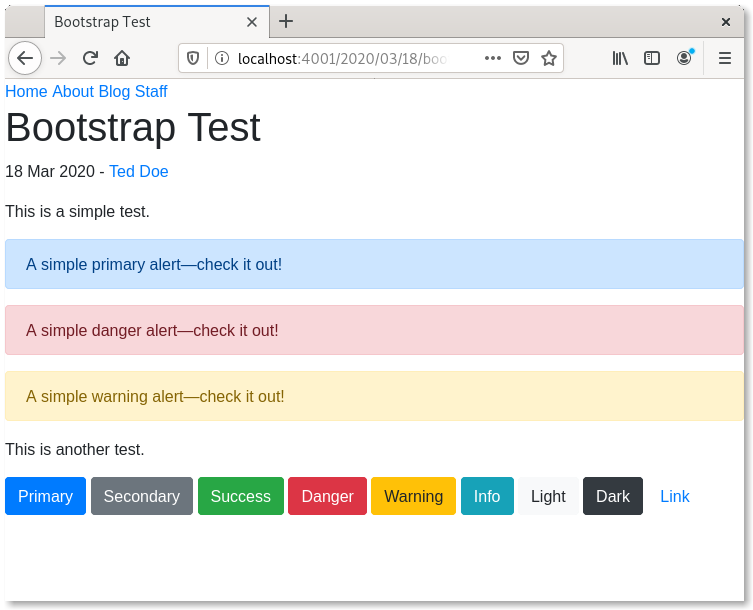
Here we are, that seems to work fine!
Notes
The posts we write can be in Markdown (.md) or in HTML. It’s more natural to use Markdown but it’s a bit limited in terms of styling. I say limiting because if we take a look at this excellent Markdown cheatsheet, there is a lot that can be done with pure Markdown. But, for example:
target="_blank"is not doable in Markdown, we need to use the the full<a>HTML tag.- Bootstrap
img-fluidclass is not applied when we use the Marldown way of insering picture, so we also need to use the full<img>HTML tag. There are some ways to circumvent this, but I haven’t tested them. - Still, Markdown inline code (
`) and code block (```) notations will apply the same styling as if you would use native HTML/Boostrap notation, no need to use<pre>and<code>, expecet in some rare cases.
Finally, We don’t have to use Bootstrap, we could use any CSS framework, the procedure is the same.
Next steps
I would like to try to start from the minima template, the one created when you run jekyll new my_blog, and then replace it with Bootstrap without having to start from scratch like we did. But as seen earlier, I didn’t have the patience to do so and my quick attempts have failed. Pepehands
I still have a problem using Boostrap JavaScript from a file, i.e., if it’s not from a CDN. Maybe it’s because I need to also download jQuery? Since I don’t necessary need the Boostrap components using JavaScript, I may not fix this.
tl;dr
- Rename
bootstrap.csstobootstrap.scss. - Place
bootstrap.scssinside the./_sass/directory. - Modify the
./assets/css/[style.scss]file to@import "bootstrap";. - Make sure the reference in the header of the
./_layouts/default.htmlHTML file reference the file in./assets/css/with acssextension.
Thanks for reading,